
Service field guide
Interlock Installation Built for Canada
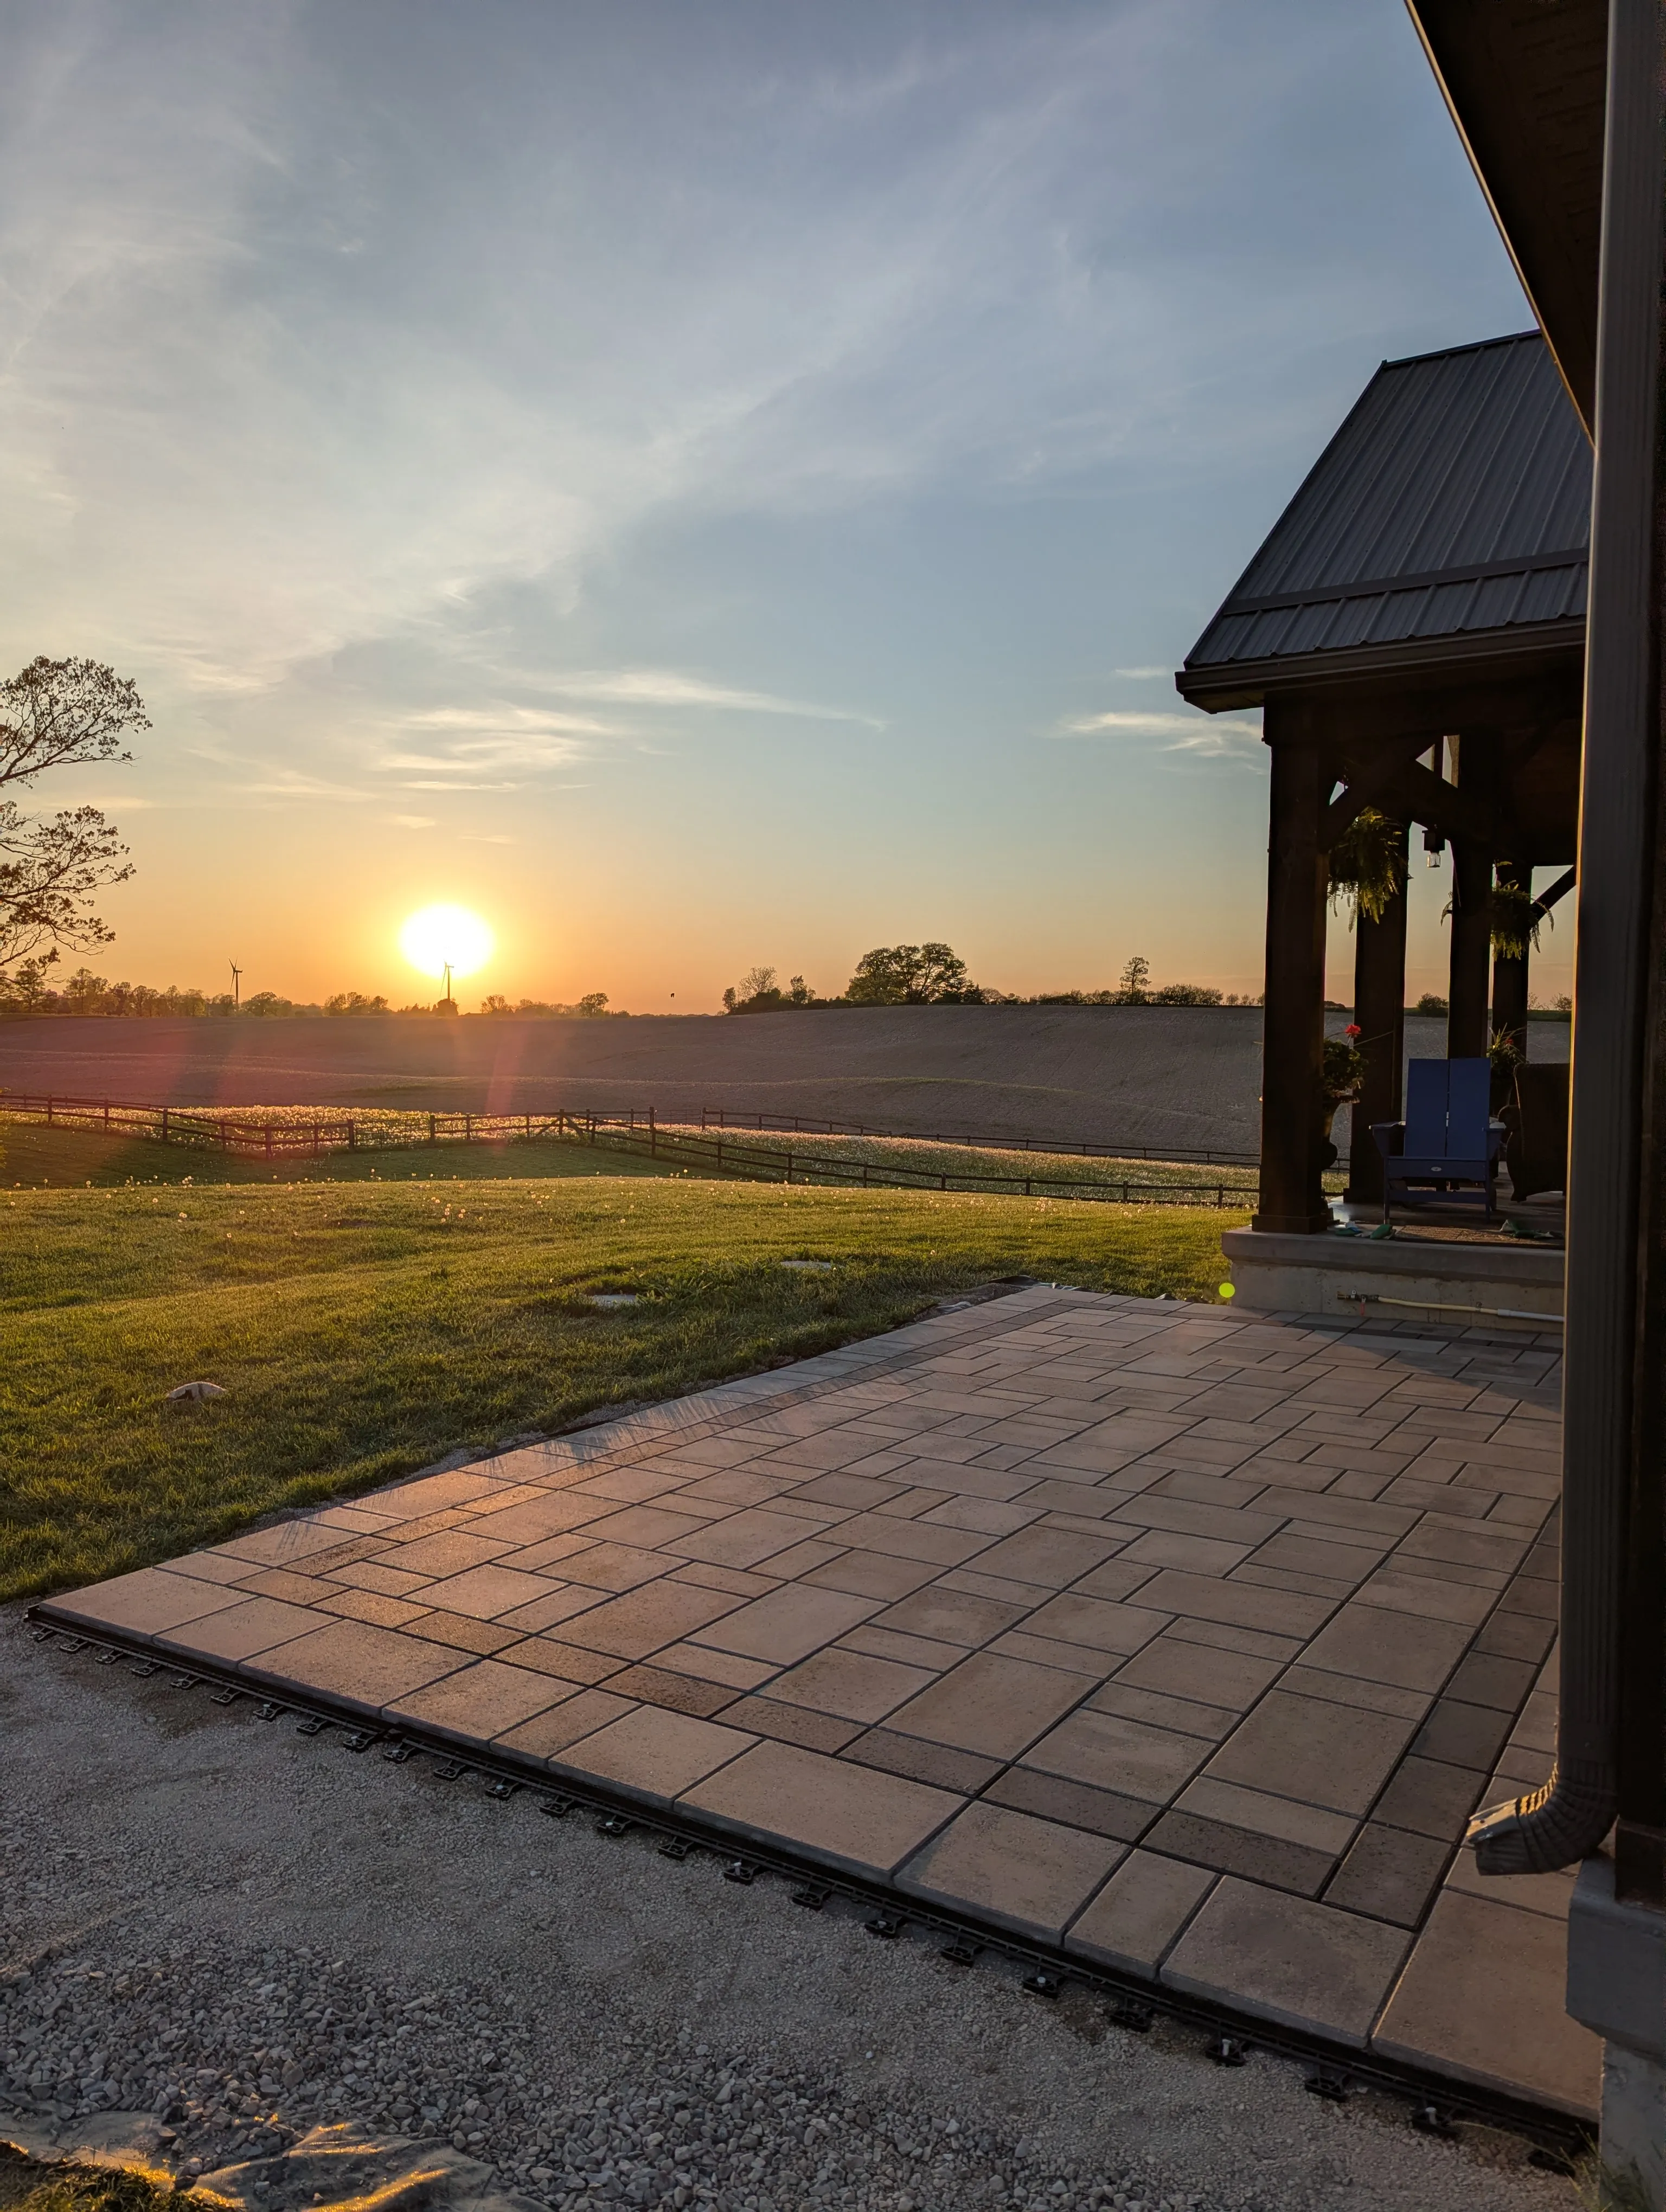
A good paver project should solve the everyday problem first: more parking, a cleaner entrance, a patio that actually fits furniture, or a walkway guests naturally use. Sherwood starts with soil, grades, water movement, base depth, and tie-ins so the finished surface is not just attractive on day one, but planned for Canadian freeze-thaw conditions and real use.
Start with the problem
Signs this may be the right scope.
The first step is identifying what you can see, then checking the hidden cause: base movement, poor pitch, weak edges, water, settlement, thresholds, or bad transitions.
You need a new driveway, patio, walkway, front entrance, or side path and want the hidden base, pitch, and edge details handled properly.
You want more usable outdoor space for parking, entertaining, safer walking, or easier access without making the property feel patched together.
You want the front of the home to feel finished, intentional, and easier to maintain.
You are worried a new hardscape could send water toward doors, garage edges, low spots, or the foundation if it is not planned carefully.
Service process
How this service usually progresses.
The exact scope depends on the site, but durable work usually follows a visible sequence: assessment, preparation, installation, and finishing.
Assess
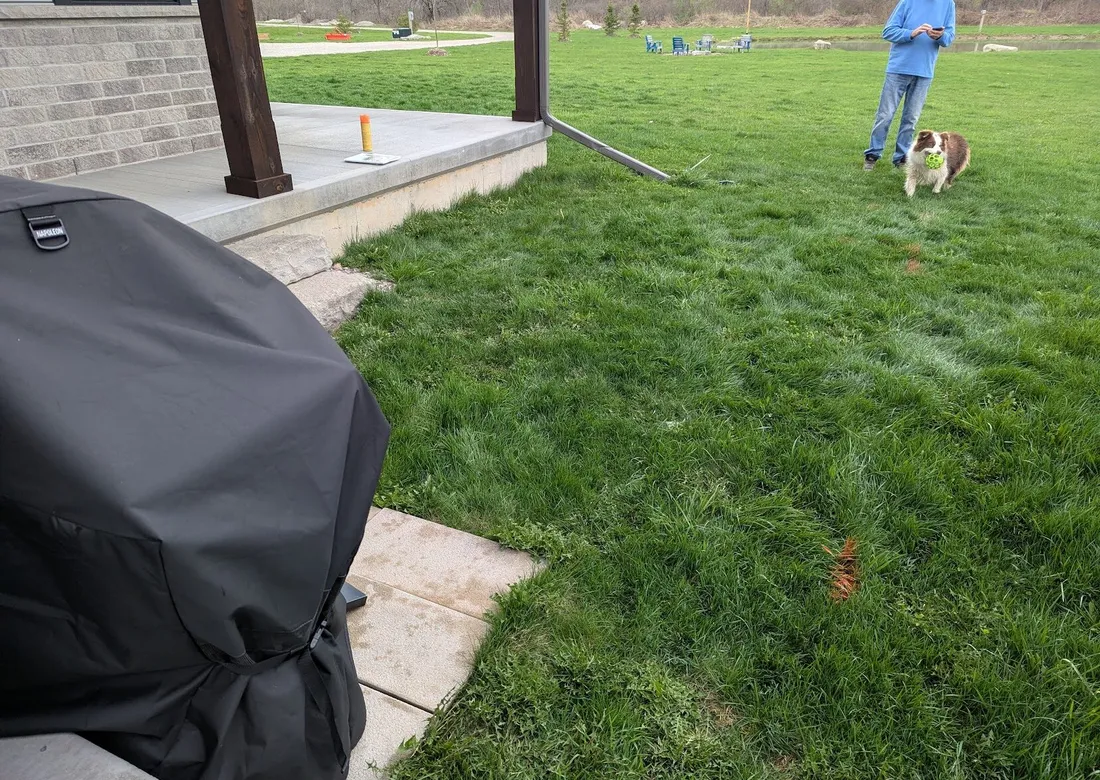
Review use, grades, and tie-ins
- Identify invariants of the property: steps, accesses, ground, and others
- Measure current grade
- Place temporary marks to physically visualize area
Design
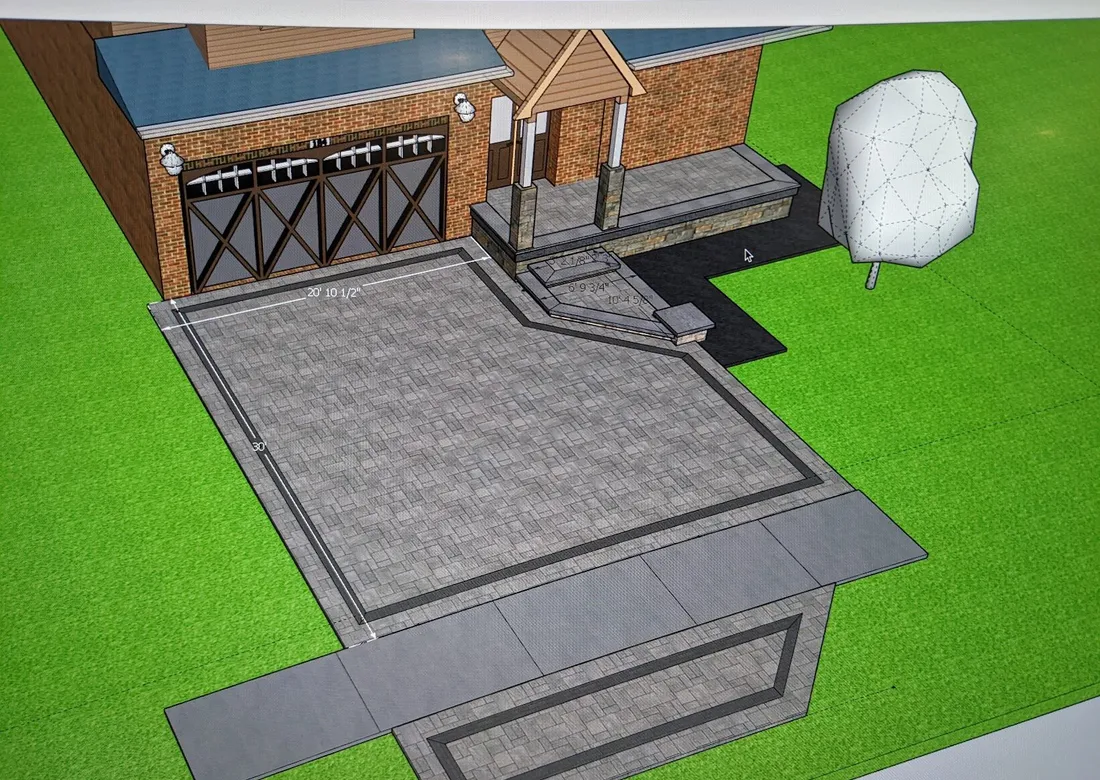
Visualize before you commit
- For certain sized projects, we offer free designs that are to-spec. No discrepencies, no misalignments
- Feel free to ask for a design
Excavate
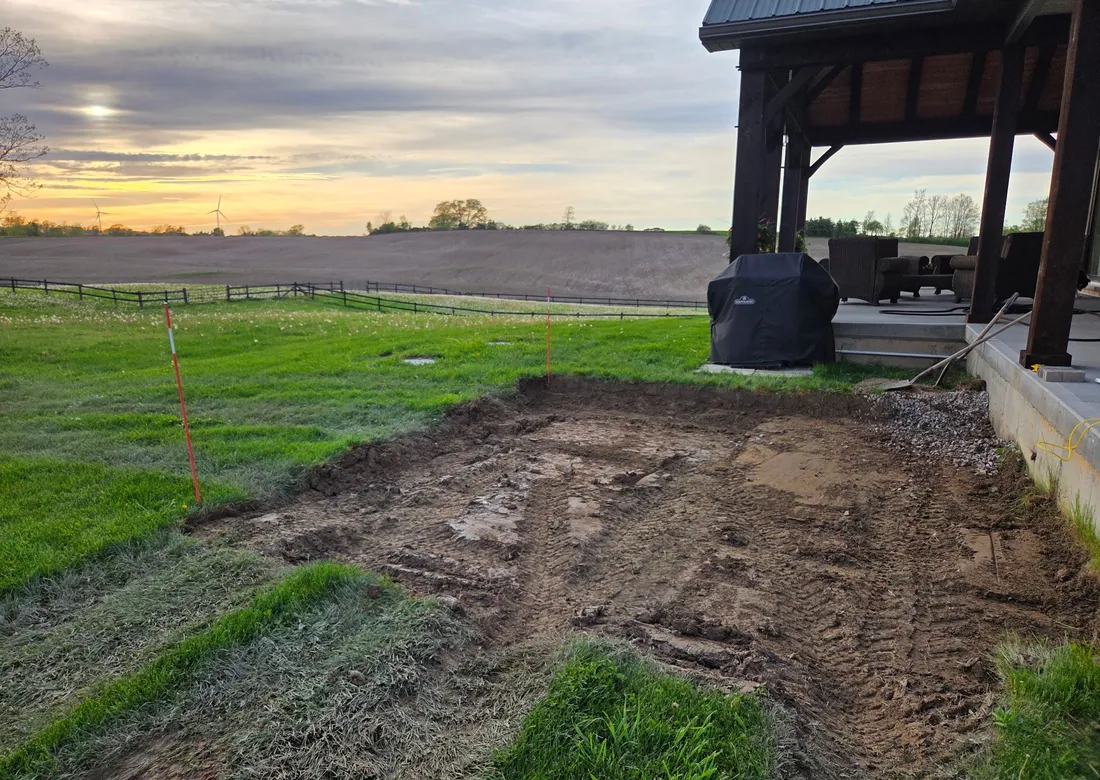
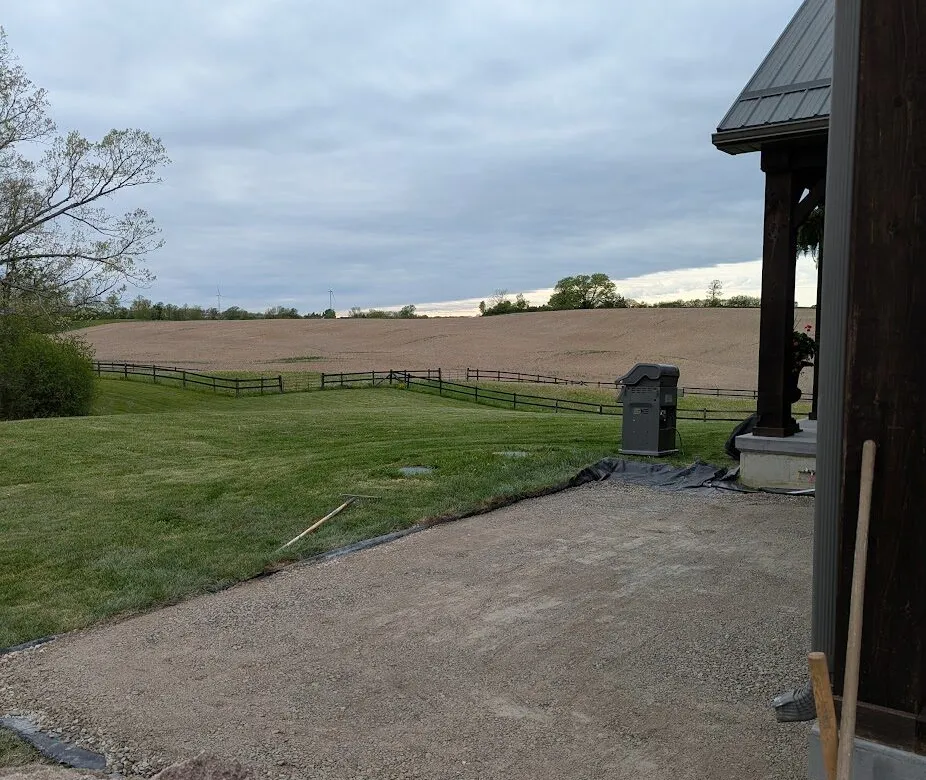
Prepare access, depth, and base area
- Before anything, it's always critical to know the expected final grade: something that satisfies the invariants and aligns with everything around it
- Locates are prepared for areas that may have underground wiring and pipes
Build
Install the base
- Geotextile is laid first, separating the base from the ground
- Crusher run is installed in 2-3" lifts, wetting and compacting each time to ensure complete strength
- It should feel like walking on concrete!
- Yet also benefits from by handling free-thaw cycles better
Build
Level out the finishing surface
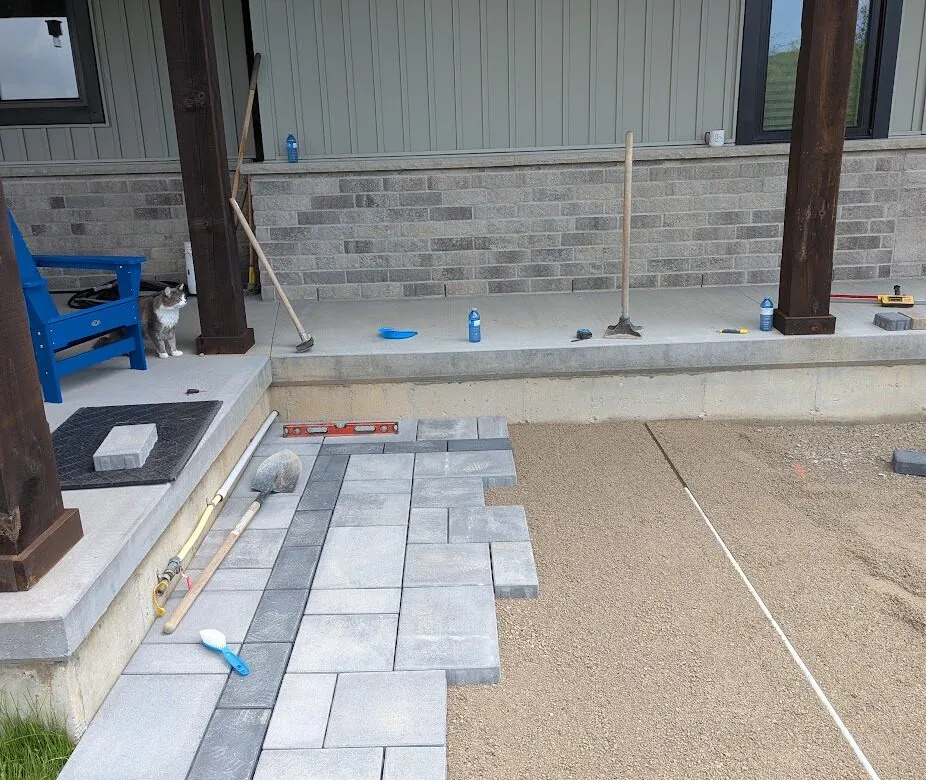
- Small angular stones such as high-performance bedding are used as a bedding for the pavers
- These allow a clean, smooth, uniformed finish with self-compaction capabilities
- Bars are used to ensure a mechanical, consistent grade throughout the area
Install
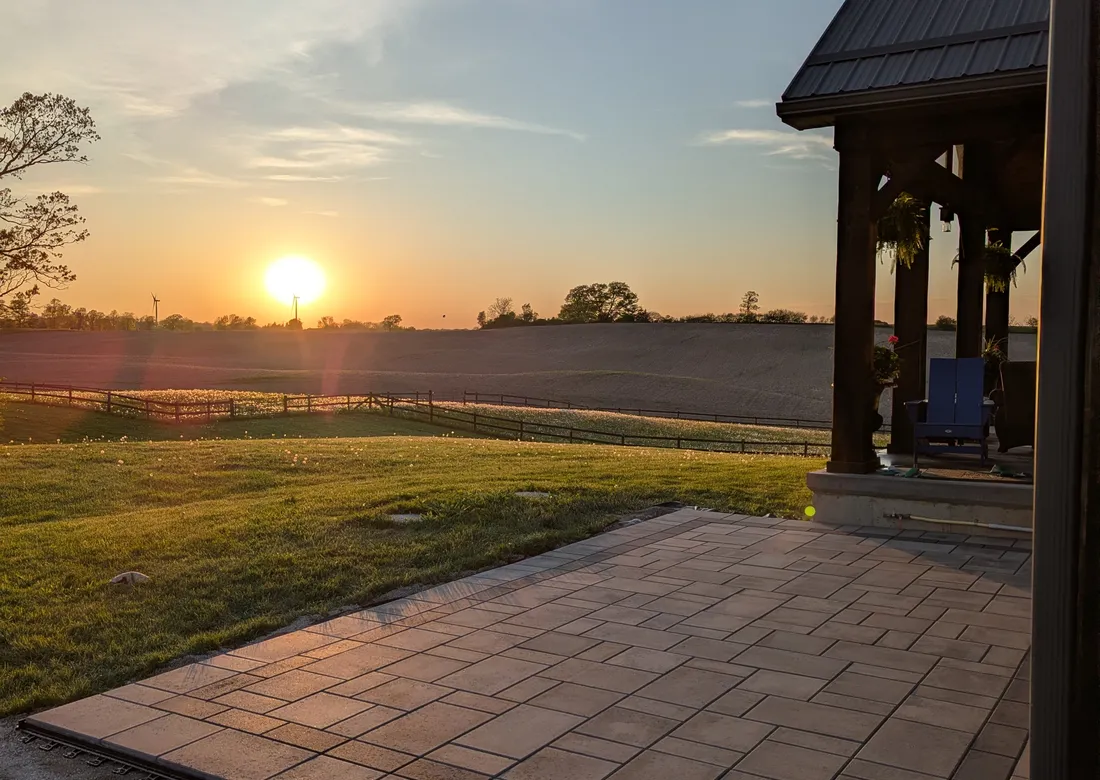
Lay pavers, cut edges, and finish joints
- Cuts can take multiple days depending on size and complexity of job
- Edging is installed on any exposed side
- Polymeric sand is finally installed
Worth considering while the site is open
Smart upgrades before the work is closed in.
Some improvements are easier, cleaner, and more cost-effective to handle while the area is already being excavated, rebuilt, or finished.
Sealing after installation
Sealing can help retain, enhance, and protect the appearance of pavers after installation. It may deepen colour, reduce staining, and make routine cleaning easier. Sealed pavers require maintenance and should usually be reviewed and re-sealed every 3–5 years, depending on exposure, use, product type, and site conditions.
Stormwater and downspout management
Now may be the right time to redirect water away from entrances, patios, walkways, driveways, foundations, or low areas. This can include burying exposed pipes, relocating downspout discharge, correcting runoff paths, or preparing the site for better stormwater handling.
Custom patterns, borders, accents, and future sleeves
Before material is ordered, this is the right time to consider border courses, accent colours, inlays, pattern changes, lighting conduit, irrigation sleeves, or a more deliberate transition between the hardscape and the rest of the property.
Low-voltage lighting coordination
If walks, driveways, patios, entrances, or nearby walls are being rebuilt, this is a clean time to plan fixture locations, conduit paths, and transformer placement before the hardscape is closed in.
Project
Related project examples.
See how this kind of work appears in real site conditions, prep details, and finished results.
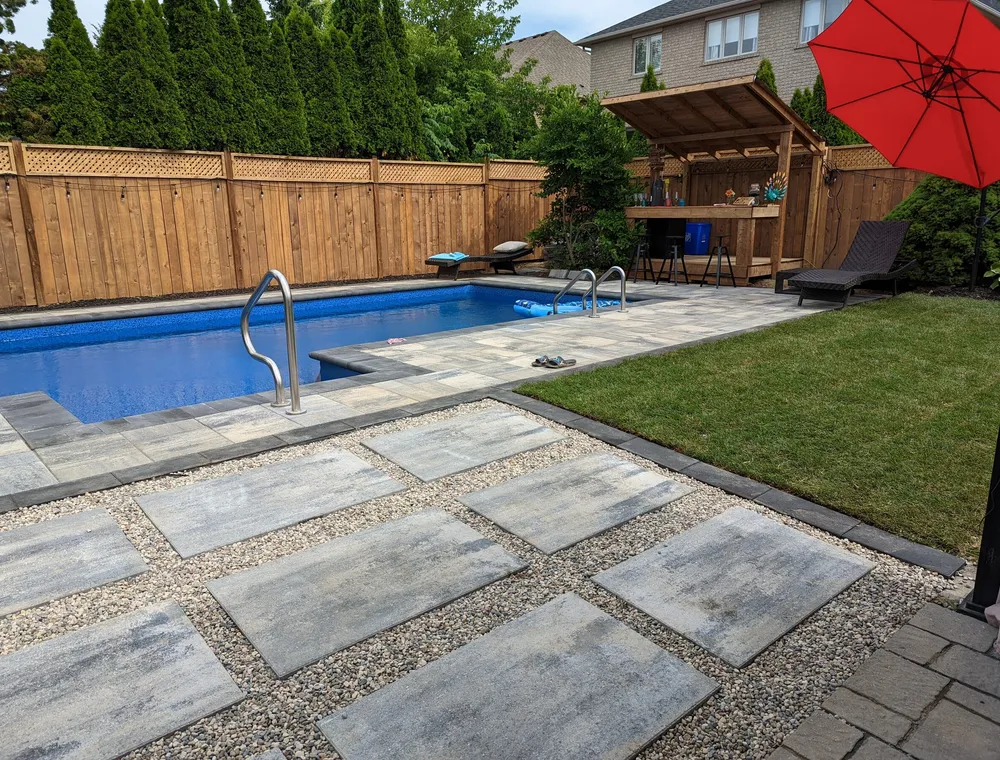
'Tiki' Interlock Pool Installation
A blank grass yard became a usable pool area with interlock, stepping stones, drainage planning, and clearer routes around the backyard.
View project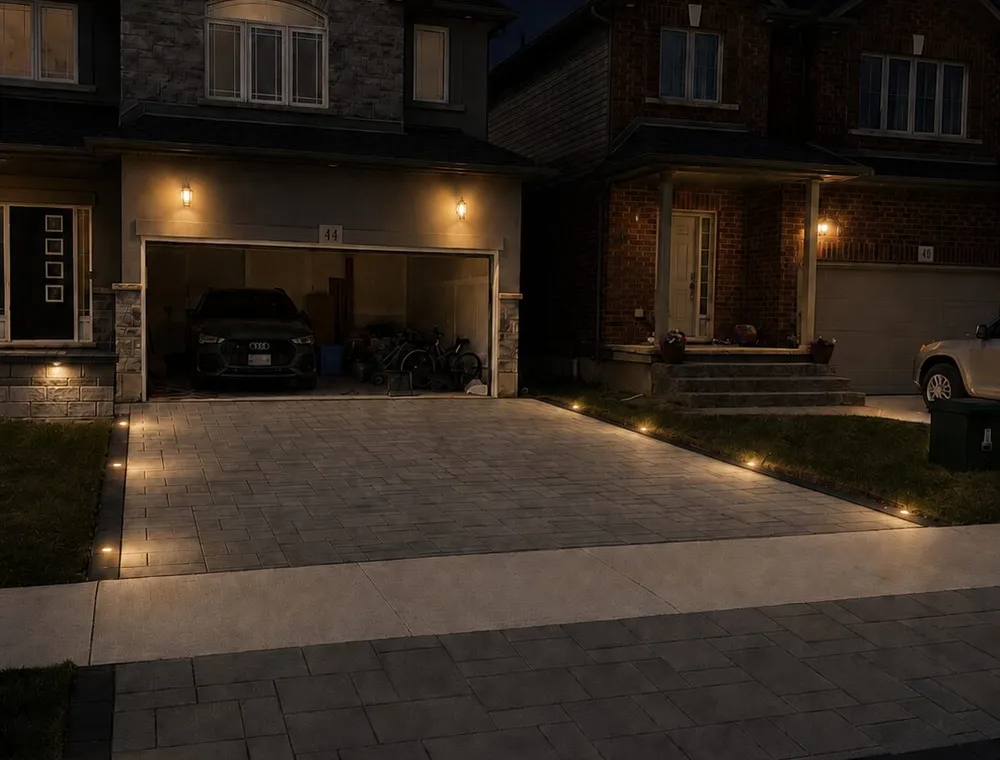
'I'm Home' Interlock Driveway Installation
A new-build front entrance was turned into a more finished arrival area with driveway pavers, steps, wall details, lighting, overlay work, and sealing.
View project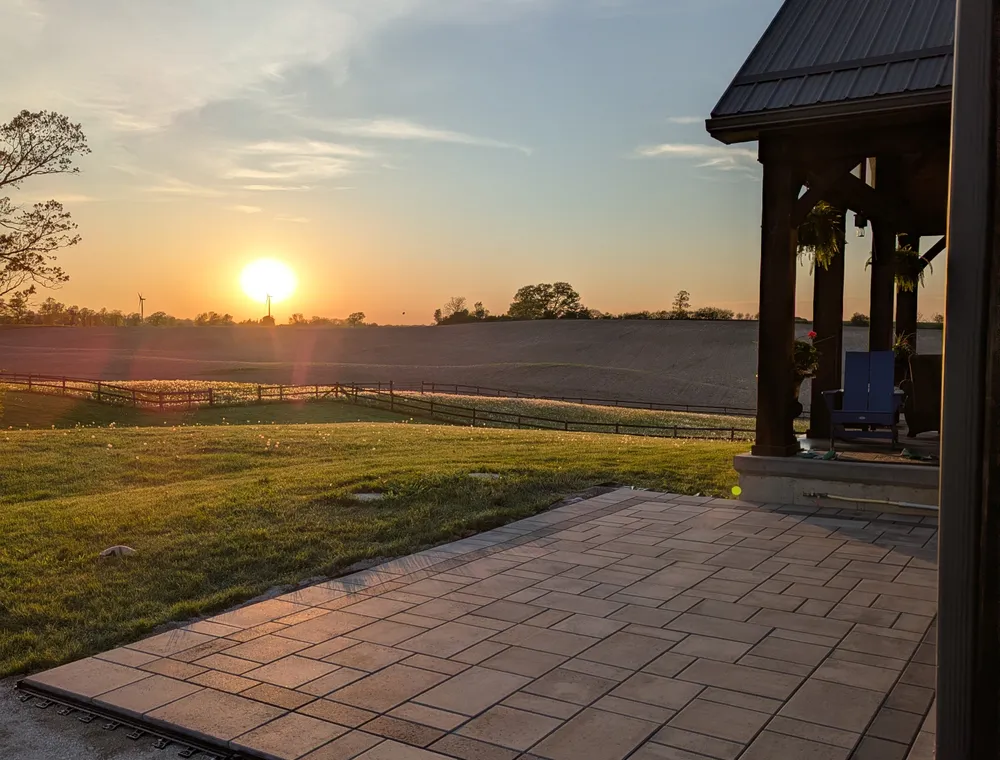
'Sunset' Patio Installation
A sloped grass area became a more usable patio for BBQs, seating, and sunset views, with the layout adapted around shallow utility constraints.
View projectStart the conversation
Start with what you see.
No measurements, material choices, or finished plan needed. Leave a way to reach you and we’ll take it from there.
Project start
Leave a way to reach you.
Choose how we should follow up. A short note is plenty.